...my own quote, from pg 3
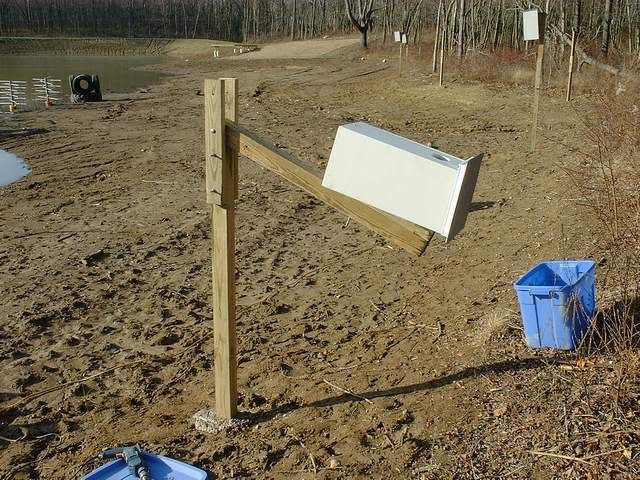
We have 8 poles totally installed. 4 of them have the completed WD boxes installed. I still have to design and install predator guards; fill ya in when we get there.
We're there.
I keep thinkin' I gotta be nuts. It's 15 degrees, the wind is honkin', and I'm going to spend quality time with my new predator guards. Donna-ski declined my generous offer to join me. Smart girl, me thinks.
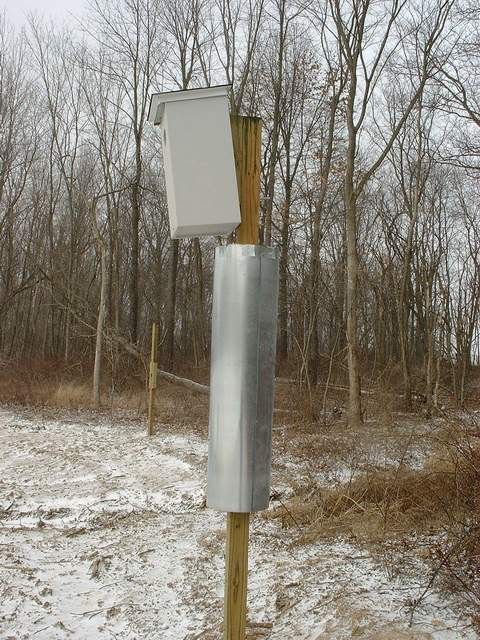
So, I pre-fab'd the guards in the basement from panels of galvanized steel. I rolled up a blank into a tube and pop-riveted it together. The result is a ho-made galvanized stove pipe, 12" dia x 4 ft long. I also pre-fab'd the covers for the top. More galvanized sheet stuff. Essentially, a 12" dia blank with eight tabs around the circumference that will be bent downward and sheet metal screwed to the top of the tube. A 3-1/2" square hole is cut into the center of this cap blank to slip over the 4 x 4 treated pole.
-
I removed the top 1/2 of the pole assembly, splitting it at the hinge, and slipped the tube over the bottom pole section and slipped the tube-cap blank up onto the top section.
-
Then I re-assembled the pole and drilled/screwed on the tube-cap on-site. Eight sheet metal screws, one screw per tab on the tube-cap.
-
-
Next, a way to push the tube assembly up to the top of the pipe and keep it there. The 3-1/2" square hole in the tube-cap will keep the top centered and stabilized, but I had to come up with a quick and easy way to stablilize the bottom of the tube (to keep it from banging in the wind...ref: Davidson Blue bird scare mechanism) AND keep the tube up high on the pole.
-
Cake! About 12" up from the bottom of the tube I drilled 2 holes x 1/4" dia. They are 180 degrees apart (opposite each other) and perpendicular to the 4 x 4 support pole underneath. Thru each hole, I slipped in a 1/4" x 5" SS lag screw with a SS washer. I reached up underneath the tube with a pre-cut pc of 1/2" x 4" long PVC pipe spacer, slid the lag screw thru it, and screwed the lag into the 4 x 4. No drill; I just gave the lag screw a solid rap or two with a hammer to force-start them and a wratchet snugs 'em down. I'm hopin' 2 of these Lag-PVC spacer units will do it. It sure seemed stable.
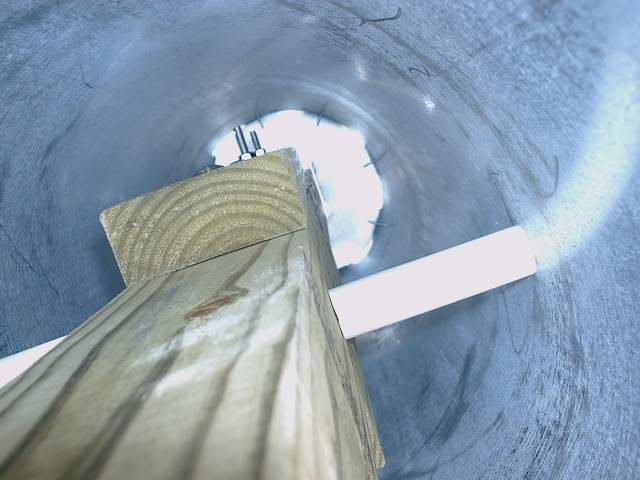
A view looking directly up from inside the tube. The very top looks like daylight, but it is the camera flash reflection off of the interior side of the galvanized tube cap at the top; the sheet metal screws that hold the cap on are visible.