I thought I would share my experience with everyone regarding the siphon pipe system. After many hours researching the subject for about a year, I decided I liked the idea of a siphon system. The advantages that I liked are as follows: being able to draw the lake down to any depth at will, being able to remove deeper anoxic water instead of surface water, the peace of mind knowing there are no holes through the dam and therefore less chance of future problems/leaks, the cost efficiency vs. many of the other systems. While we were placing the the pipe my contractor and good friend stated he had built hundreds of ponds over the years and this is the first siphon pipe system he had placed. It impressed him so much that he will be placing one in his own future pond in the near future.
Once I figured out which system to use, I spent a lot of time trying to understand the parts of the system and how it all comes together. Instead of trying to get the pieces myself, I ordered the 8" kit from Keith Johnson at Pond Dam Piping. Keith was very helpful and answered all the questions I had. I ordered the 20' straight sections from a local pipe supplier. The cost was around $800 for the kit (including the butterfly valve) and around $900 for the straight pipe.
Selecting the size of the pipe will vary with factors such as location, amount of rainfall, watershed drainage, etc. Many locations might need 12" pipe while others may only need 6" pipe. My pond will be about 3 surface acres, up to 30 foot deep in central Arkansas. The watershed drainage is around 50 acres and there are several natural springs under the pond that should keep it at normal level once the pond fills up.
On to the pictures.
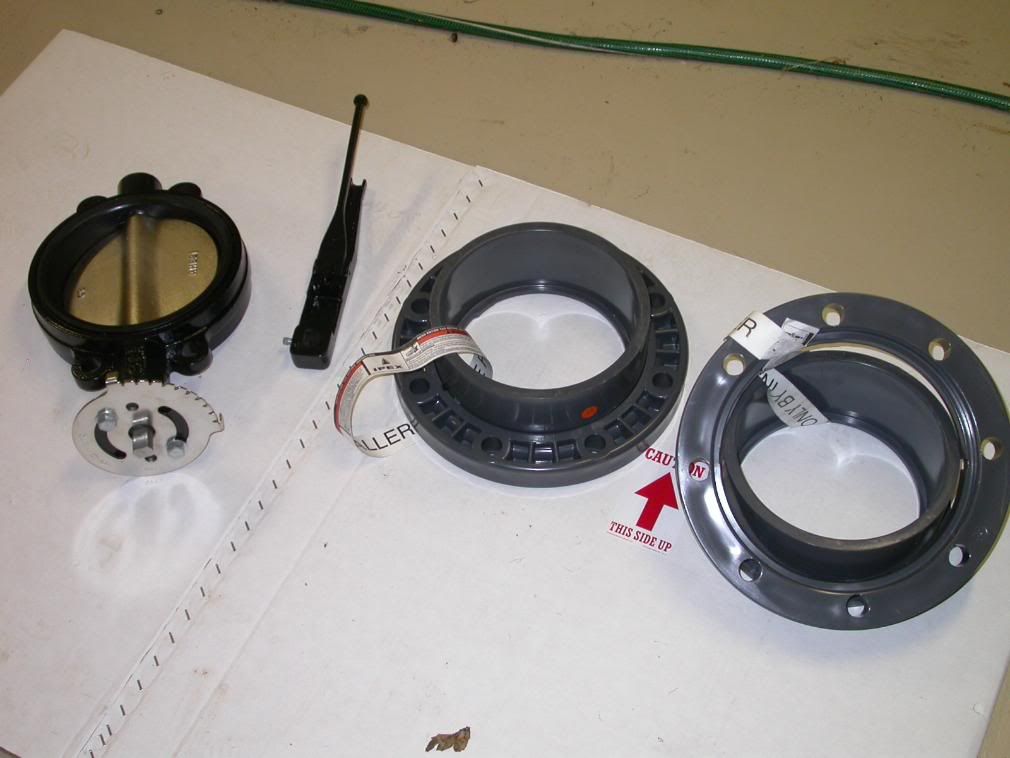
These are the parts to the butterfly valve. Eight big bolts hold this thing together. It is very heavy.
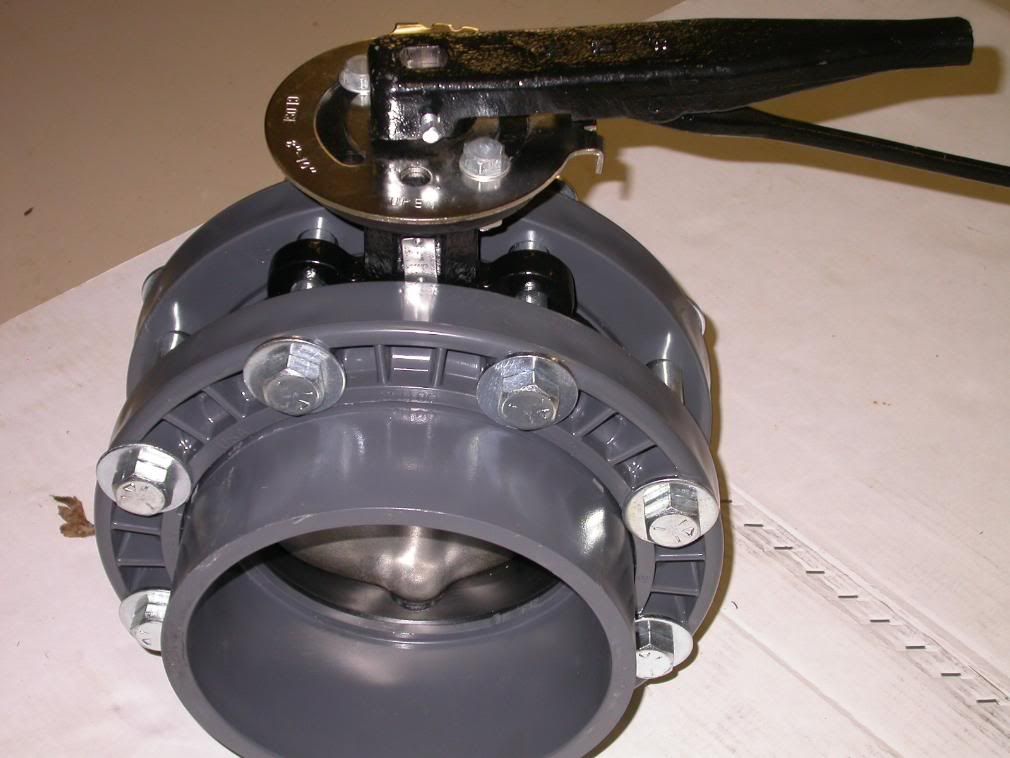
This is what it looks like put together in the closed position.
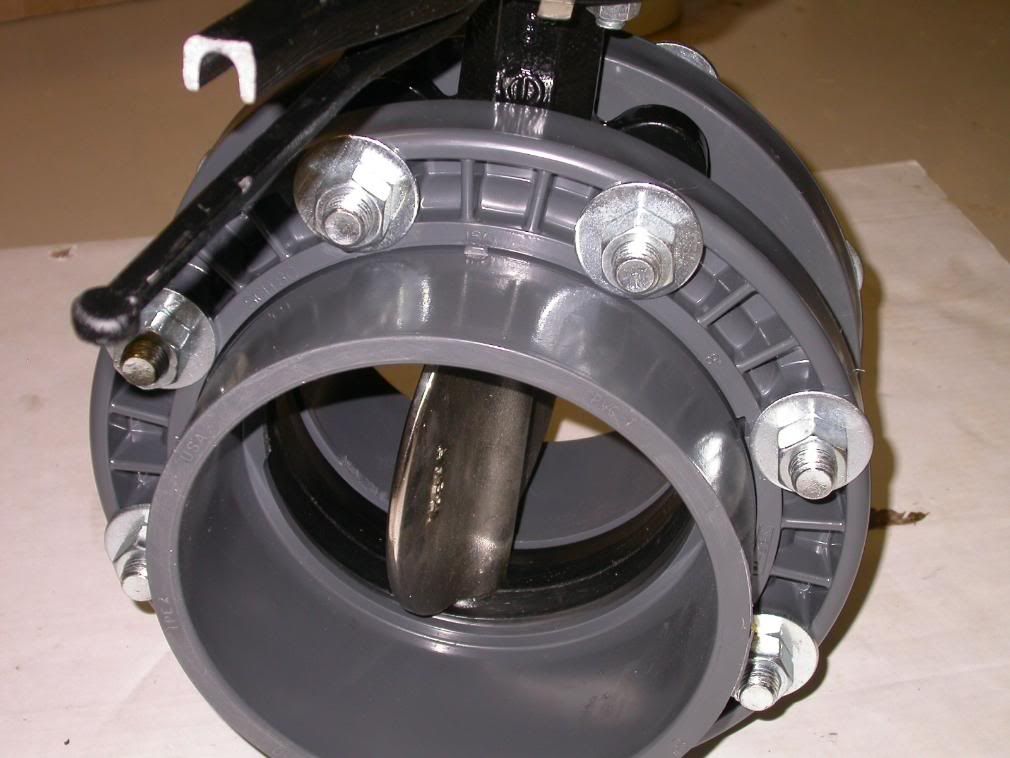
This is what it looks like in the open position.
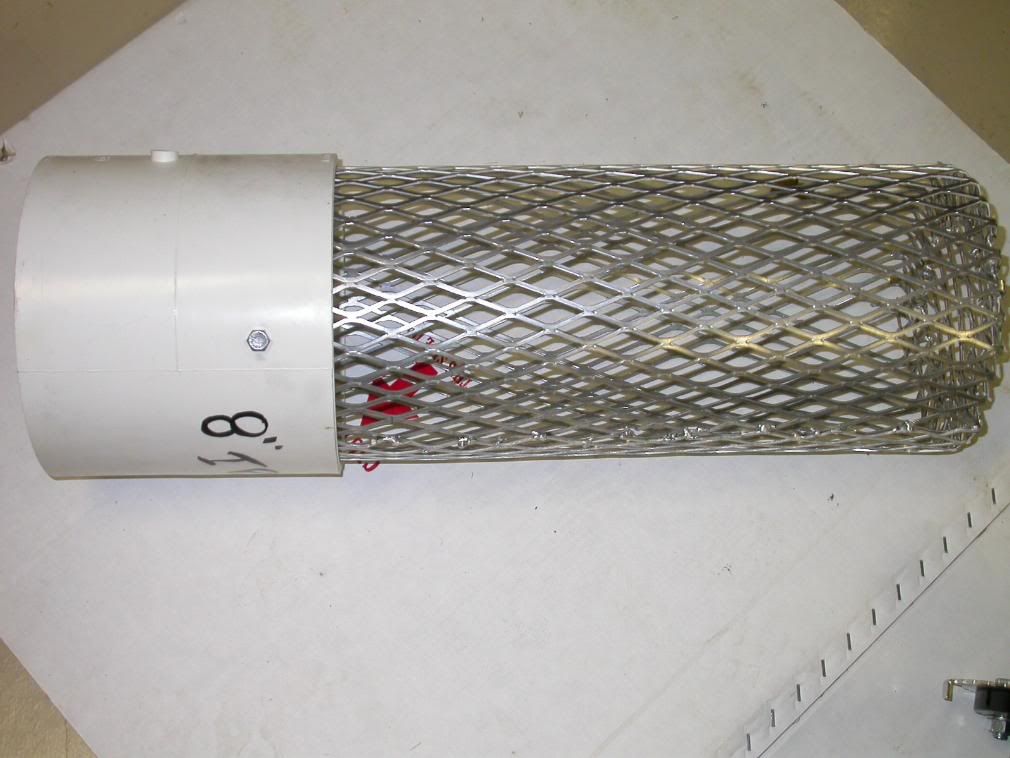
This is the trash guard that goes on the inlet side of the pipe.
After picking the right spot for the pipe and using a laser to figure out how deep to place the horizontal section of pipe, we began digging a 3 foot trench where the pipe would be placed.
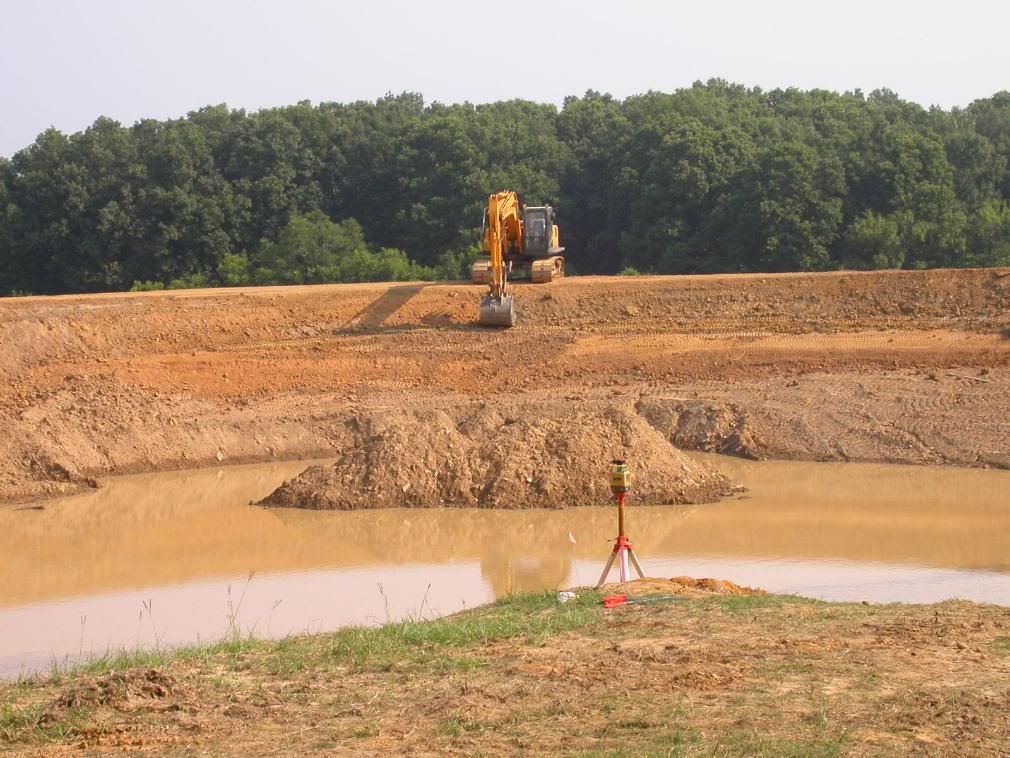
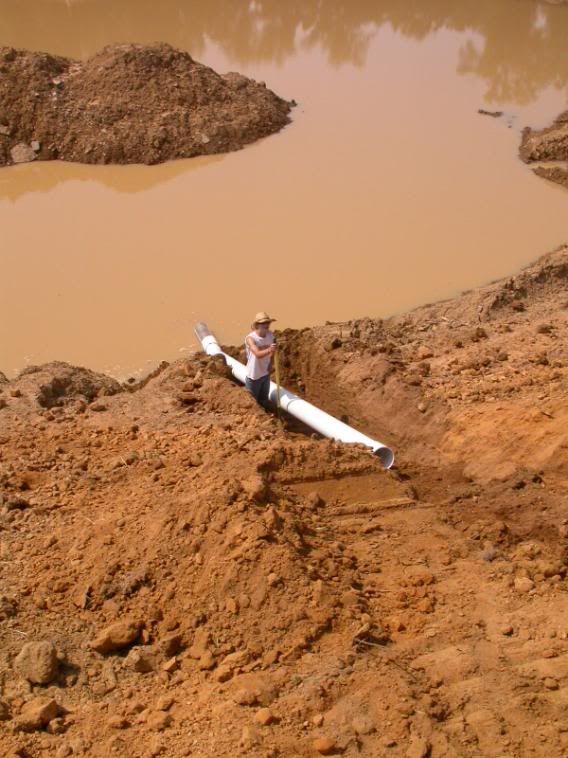
We were fortunate because at a 17' vertical drop from normal water level, it was at the water's edge. There's already 10 feet of water in the deepest part and I was worried that we would have to pump some of the water out to place the pipe. I used 17' to give some room for error because you can't pull water over 20' vertically with a siphon. The inlet part was put together before placing.

The inlet side in place ready for some cover dirt and the next piece. It's very easy to slide these pieces together going downhill, but on the backslope, the trackhoe was used to force the pipe sections together.
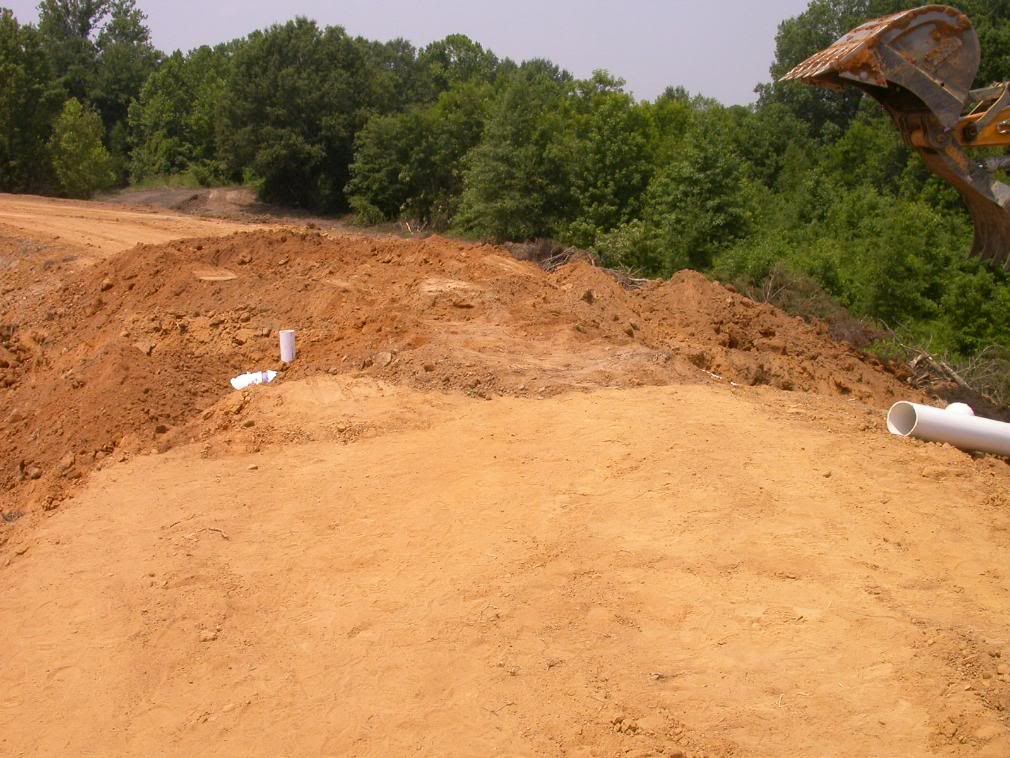
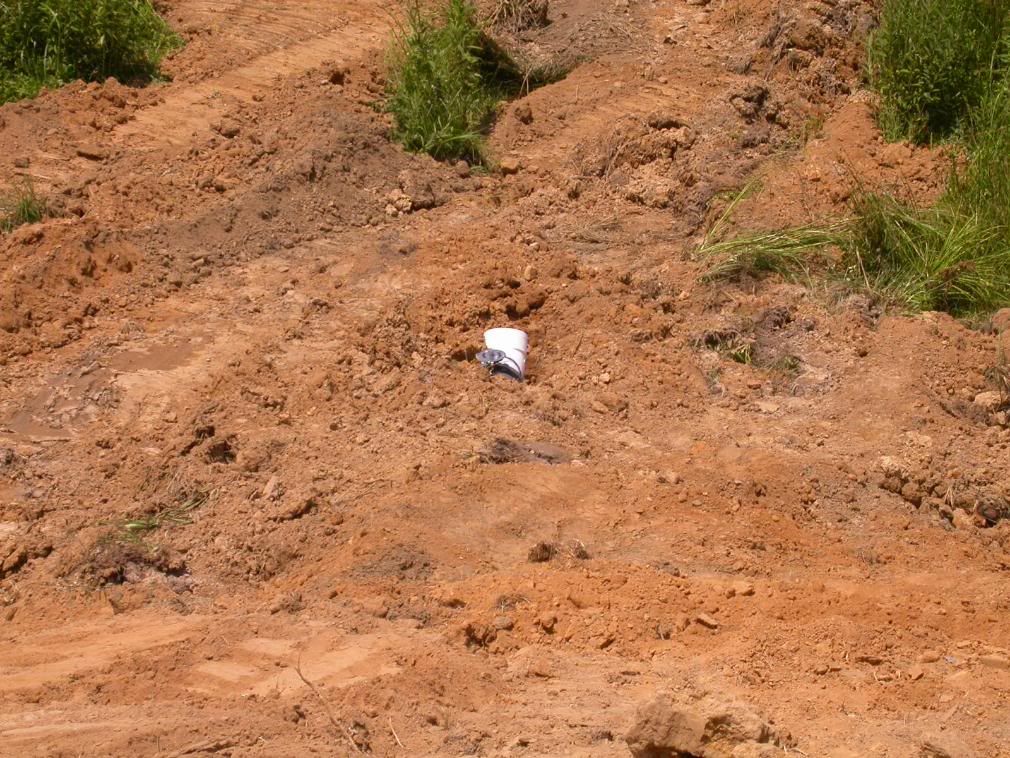
After the horizontal section was in place, all that you could see was the vent pipe sticking out of the dirt. To me, this was the most important part because the horizontal section determines the normal water level. Apparently there was some confusion about pipe vs. emergency spillway levels. When we shot the grade with the laser, the emergency spillway was 3' below the crest of the dam and this was where the normal water level was supposed to be. After talking with my contractor and using some diagrams, he finally understood that the pipe would control the normal water level and the e-spillway was for floods. We ended up having the e-spillway 10" below the crest of the dam (actually there are 2 emergency spillways, one on either side of the dam), and the horizontal pipe 10" below the e-spillway for a total of 20" below the crest of the dam. I know the NRCS wants 2' of freeboard but the dirtwork was through and there won't be large amounts of water coming through the pond. Everything should be alright.
The backslope of the dam. Notice the butterfly valve towards the end followed by a 45 degree angle.
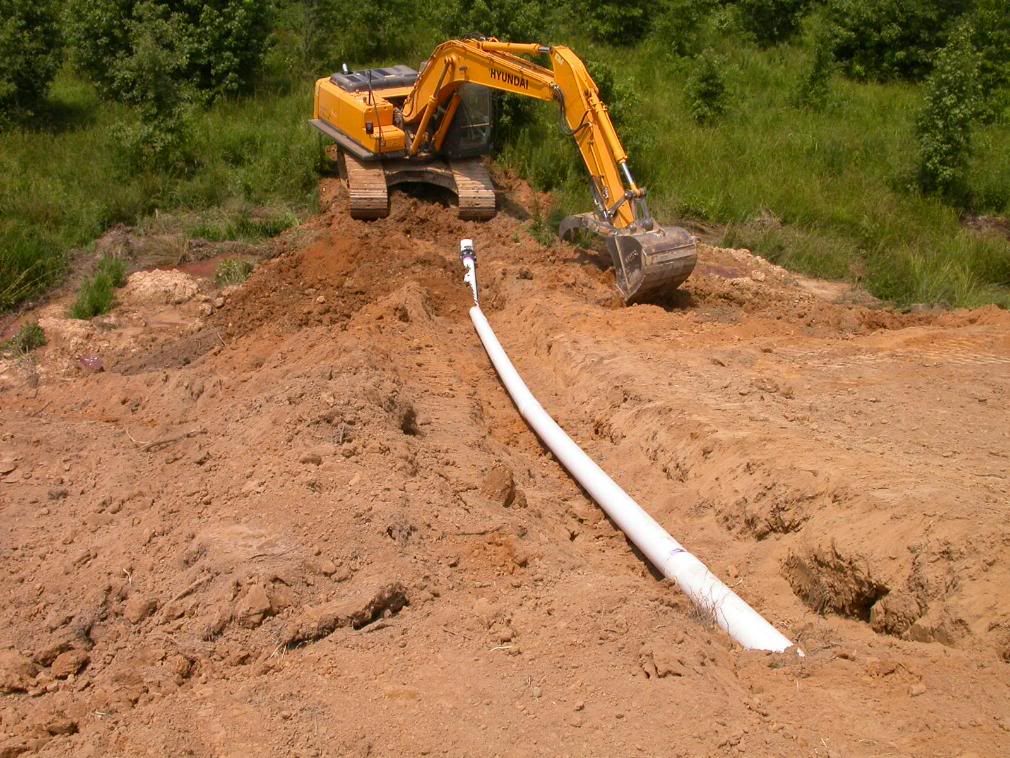
The finalized vent pipe. A t-post was used to anchor the pipe in case someone bumps into it. It's used to take the torque and stress off of the horizontal section. The flag behind the vent pipe marks the water line.
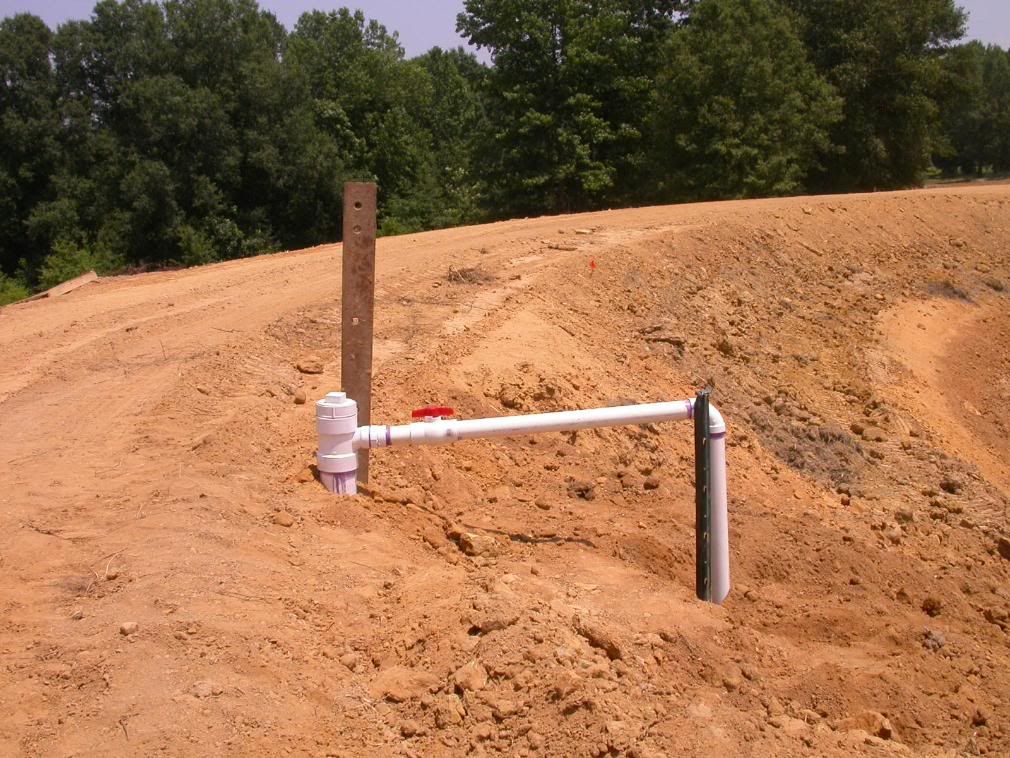
All that remains on the backslope is the valve section.
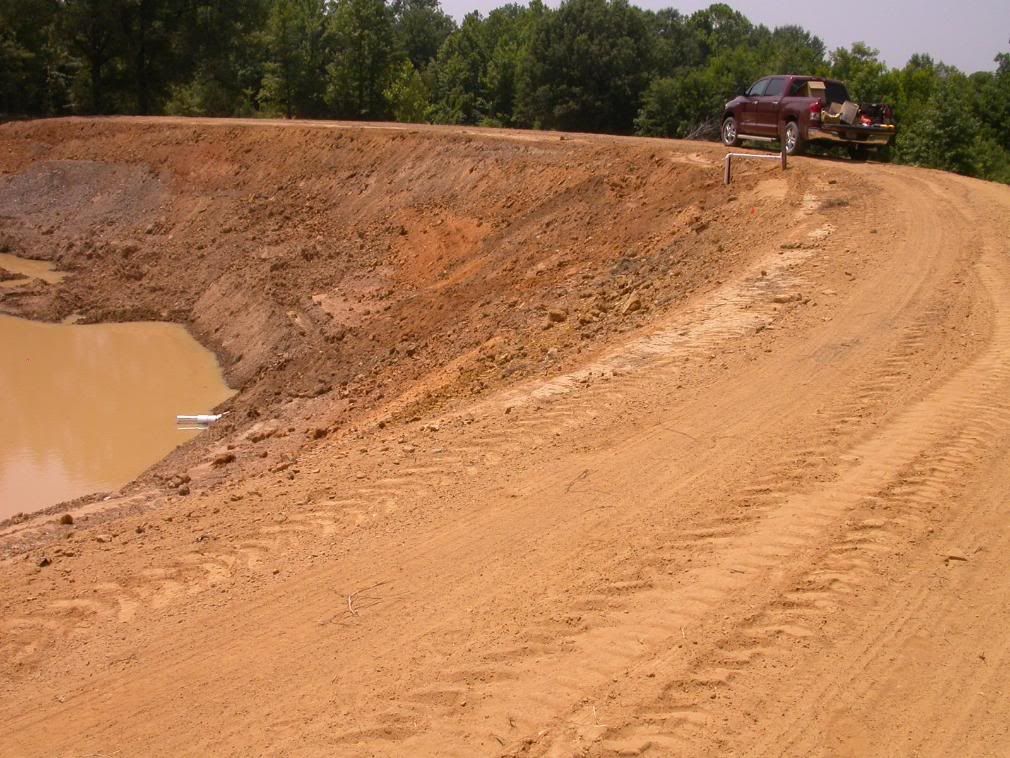
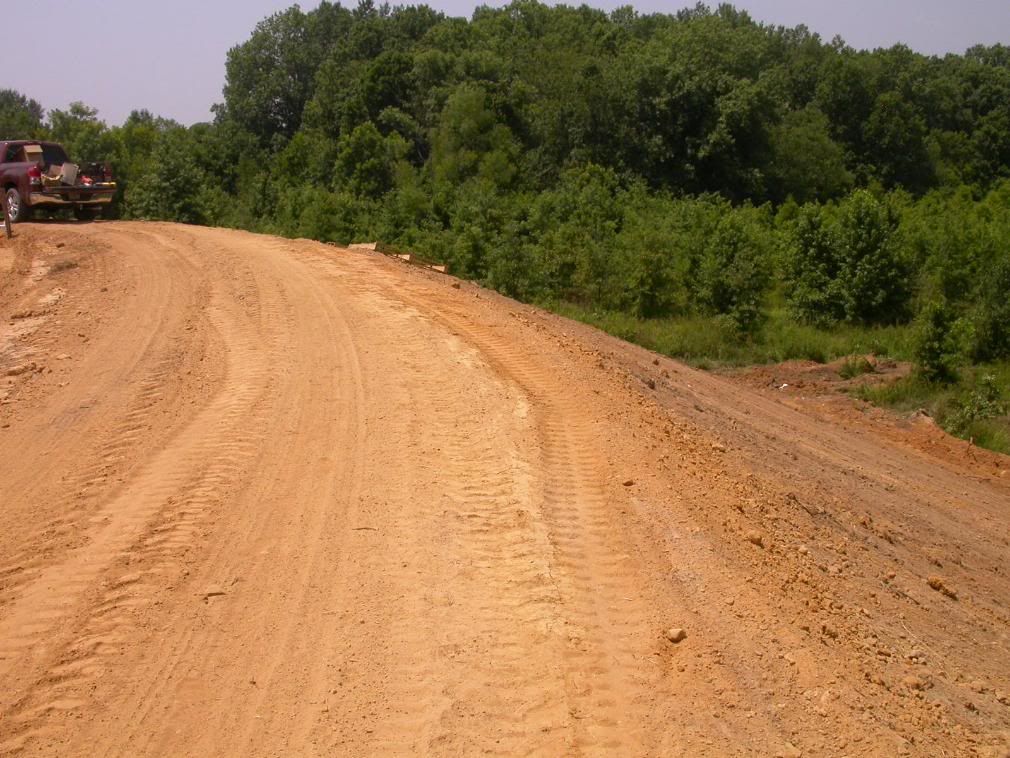
I tried backing up to give some perspective of the inlet side vs. the outlet side.
That's all for now. I hope this has helped anyone who had questions about the siphon pipe system.


