Pond Boss
Posted By: mnfish DIY Solar Aerator - 05/21/12 12:13 AM
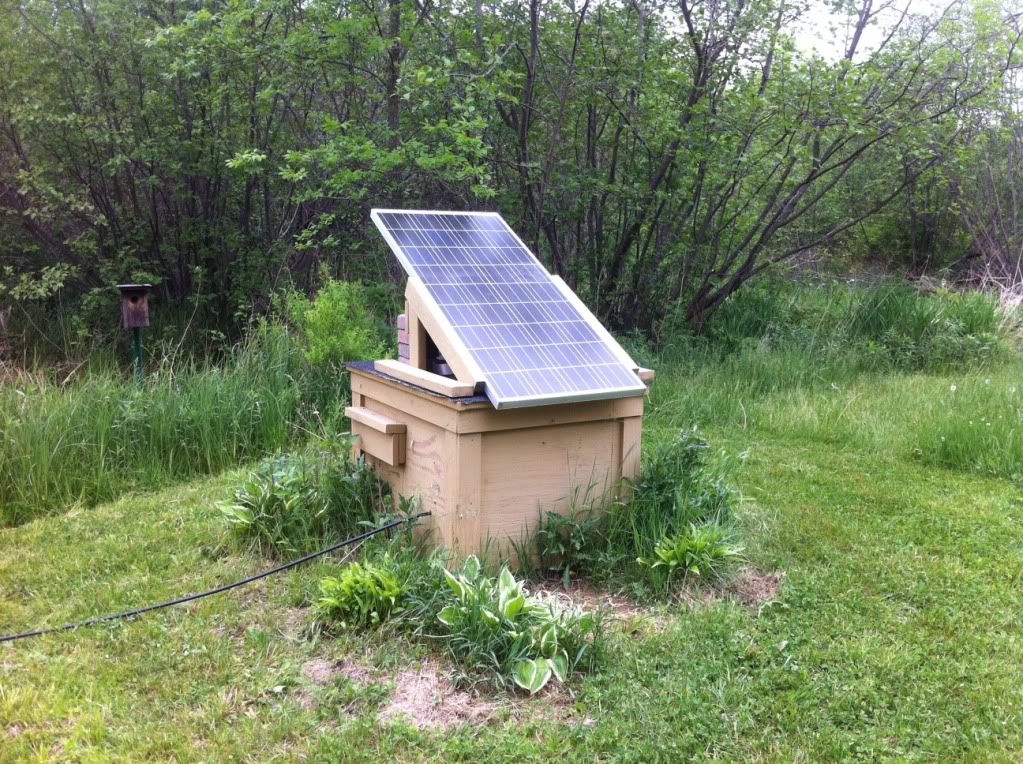
Here are some pictures of my direct solar aeration system. It consists of a 135W solar panel, a 15Amp Linear Current Booster (LCB), a Gast 12V DC pump, and a house to hold components.

Approximate costs; Solar Panel $350, LCB $225, pump $200, house $100

Here is the Solar Panel mounted on top of the component box. The solar panel, along with the top of the housing, can be opened to access the other components. The housing is "over built" to allow for 3" of foam insulation, reducing the sound. The panel can be positioned at two angles, summer or winter. Steep angle in the winter to prevent snow and ice build up.


Inside of housing. Motor and LCB. (along with some unwanted guests...carpenter ants mad)


Bubbler in action


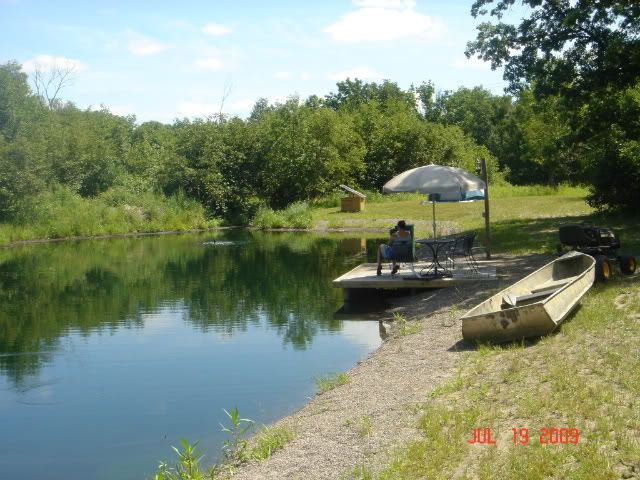
Three seasons of use. I mainly "need" it during the winter months. It keeps a hole open aproximately 1 to 2' depending on the ice thickness. The thickest ice I've had to deal with on this pond is about 16" thick.
Posted By: Dave Davidson1 Re: DIY Solar Aerator - 05/21/12 09:07 AM
That is ingenious. I love it.
Posted By: John Monroe Re: DIY Solar Aerator - 05/21/12 10:00 AM
Great job, I really like it too.
Posted By: rcooked Re: DIY Solar Aerator - 05/21/12 02:05 PM
John,

I love this and would love to see a detailed parts list to get this up and running. This is something I would most definitely be interested in constructing for my pond. So much cheaper than the other "solar" systems which are out there.

Looks like it is directly wired to the panel with no battery storage. How long does it run typically?
Posted By: mnfish Re: DIY Solar Aerator - 05/21/12 03:31 PM
Thanks for the nice comments fellas. Like I said, I have been working and testing this design for 3 Minnesota seasons. This pond has BCP, YP, BG, LMB, a couple of WE. My goal was to design a system that could be setup in the woods without a power source and allow the growth of any MN native fish. Also, it had to be able to be maintained quickley, if something failed, on the ground with minimal time. My windmills on a 12' latter with 2 feet of snow and -20F air temp would not be a fun afternoon. Plus I'm not getting any younger. grin

Failures have definetly occured during the design process. The biggest problem was learning how not to burn out the pump. I am a mechanical guy and not an electrical guy that is for sure! Don't ask me how it works, but from my limited knowledge, the LCB prevents the motor from stalling in low light conditions. So it pretty much runs from 9am to 3pm every day, unless very over cast. The more sun the more air. Max flow with full sun at 5ft deep is about 1cfm. The problem is at full sun if you dont restrict the current the pump will burn out. You need to "over" size the panel to ensure pumping in low light conditions. (2 pumps and $450 lesson blush)

The electrical guys on this forum are going to laugh at me when I tell you how I solved this.

So what I did was:

1. Set my stone in the depth of water I was going to aerate from
2. Hook up a 12V battery (from my truck) to the pump and listen to the speed of the motor
3. Then at full sun at high noon I restricted the light to the panel until I got that sound or motor speed. Then affixed the light restrictor.

There are some other features not mentioned. In the housing is a vent for air flow. Look for the bump out on the house pic. As you can imagine the pump will get hot during the summer. Also, I have a pressure relief valve in line in case of line freeze up. In the house, there is also a programable timer, charge controller, and batterty hook up for, a light at my dock and my automatic watering sysyem for the garden. (another post altogether)

The design is still not proven because I'm not sure how long the pump will last. I'm on my second season with this style pump. The pump can be rebuilt and is relatively inexpensive but I would like to know the limits with real world experience. My test location is pretty good with temperature swings from the high 90's in the summer to -20F in the winter.

For the norther pond owners. Its not pictured but I have two stones. A summer stone and a winter stone. The air line for the summer stone is burried and run along the bottom of the pond. I run the summer stone until freeze up (December). Then I switch out to the winter stone. In the winter, the air line runs on top of the ice and the stone is placed thru an 8" drilled hole. The stone and line that is below the water is cased in schedule 40 PVC for protection if freeze up occurs and I have to chisel it out. If freeze up occus, I simply chisel the pipe out of the ice, pull the stone, disconnect from the house, fix the problem in a heated garage, and reinsert into the pond. I will get some pics of my winter stone setup and post. This was the first year and I was very happy with the design.

Like I said, I am not an aeration expert or a solar power expert. But the design works on this 1/4 acre puddle. With one or two more proving seasons, I will be able to build 2 or 3 more ponds and use this setup. (please don't tell the Mrs. my plan about more ponds whistle)
Posted By: Bullhead Re: DIY Solar Aerator - 05/21/12 03:39 PM
Rcooked's question leads me to something that I was wondering, does it then just run whenever the sun is shining? Could a battery be added instead of the LCB, so that you could run it at night when it is typically calmer and aeration is need more?
Also, how many CFM is the pump?
Posted By: mnfish Re: DIY Solar Aerator - 05/21/12 03:52 PM
Bullhead - Valid questions. The pump is 1 cfm at 5ft deep. I tried the convential battery approach and a timer for night aeration. My problem was the damn cold. If the sun didn't shine for a week, which is very likely here during winter, my batteries would never recover. I could have solved this with more panels and more batteries but the cost was getting to much for me.
© Pond Boss Forum