...funny you ask, Mr Walker:
When are you putting yours up? They said cleaning time is December and January, so I'm assuming we have lots of time.
Oy, I'm gettin' too old for this stuff...
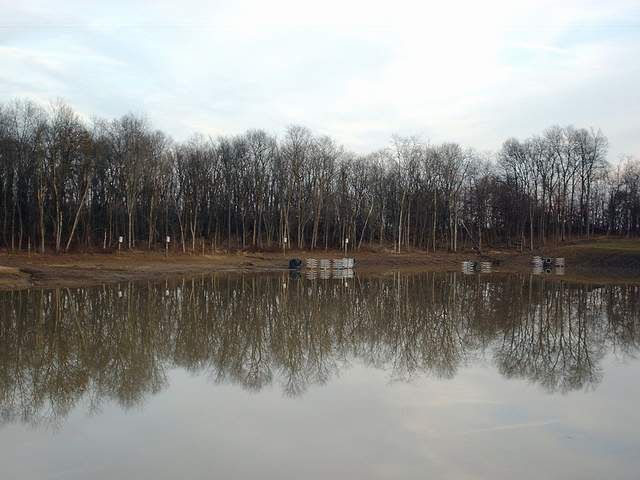
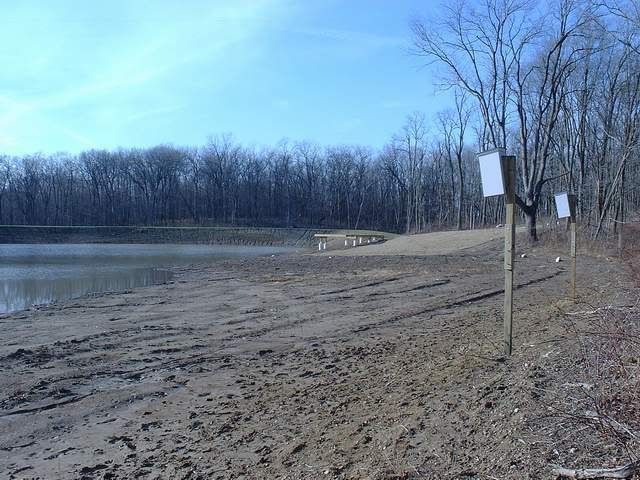
The area slated for the WD boxes and other nesting structures is the small, shallower wetland zone between the beach and the building pad.
Because I elected to use pine instead of the lighter wood, cedar, my WD boxes are on the heavy side. I just cannot see them enduring long term on a metal pole pounded into the ground. We elected to use treated 4 x 4's.
I rented the one man ground hog unit, the same one on wheels that we used for all the concrete piers at the docks. We drilled eight holes, 8" dia, spaced out along the (someday to be flooded) timber line, about 20' out from the trees. Each hole ran about 30" deep. We sakrete'd 8 base poles in. I set the tops of these base poles at 24" above normal pool.
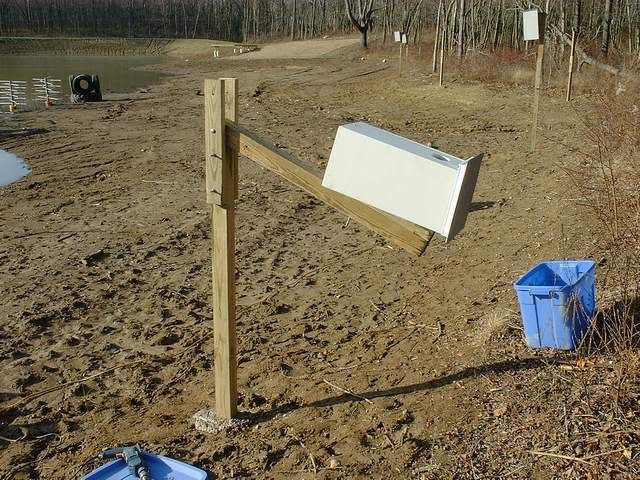
Then, I pre-fab'd the top poles in the comfort of the basement workshop. Each top pole is another 4 x 4 x 48". 4 poles will receive the WD boxes and 4 will remain empty for future development. The 4 poles that receive WD boxes also have tilt boards attached at the top. This will tilt the WD boxes forward, about 3" off plumb. These tilt boards were fab'd from a 22" long section of treated 2 x 4. I ripped the 2 x 4 across the diagonal creating 2 mirror image wedges x 22" long. They were screwed to the 4 x 4 top pole with SS screws, leaving a 1/2" gap between them. The 2 SS 3/8" x 10" carriage bolts that attach the WD boxes to the poles feed right between these tilt boards, in the 1/2" space. The box mounting carriage bolts continue thru the 4 x 4 top pole, SS washer & nut at the back.
-
-
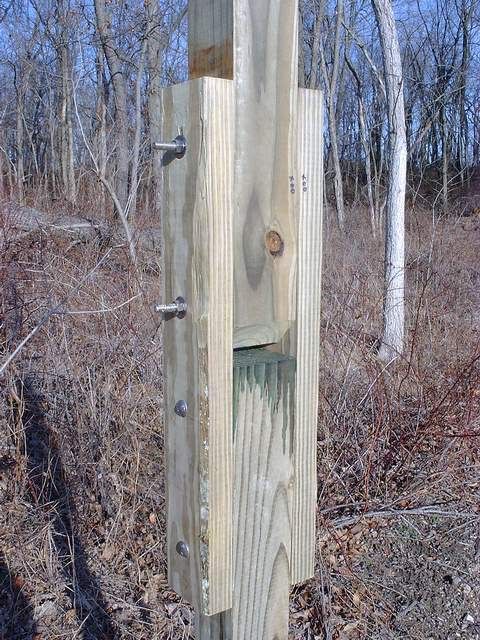
The bottom pole is permanently embedded in the concrete. The top pole is designed to hinge, allowing access to the nest boxes by removing one 3/8" x 10" SS bolt.
-
-
The hinge assembly is basic. It is a coupling of 2 pc of treated 2 x 4 x 24" long. The bottom pole is securely thru bolted with 2 pc 3/8" x 10" SS carriage bolts/washers/nuts. The top pole has a mirror image of hardware, but I made the very top hole 1/2" dia to ease removal of the SS bolt.
I provided a 1/2" gap between poles. I also cut 45 degree chamfers on the top pole. Each of the two chamfer cuts eases 1/3 of the width of the 4 x 4. The center 1/3 remains square with the pole. This allows the pole to swing down, unemcumbered.
-
-
We have 8 poles totally installed. 4 of them have the completed WD boxes installed. I still have to design and install predator guards; fill ya in when we get there. I already know that one of the other 4 poles will support a bat house, so that leaves 3 for additional fowl thoughts.