Homemade Lump Charcoal continued....
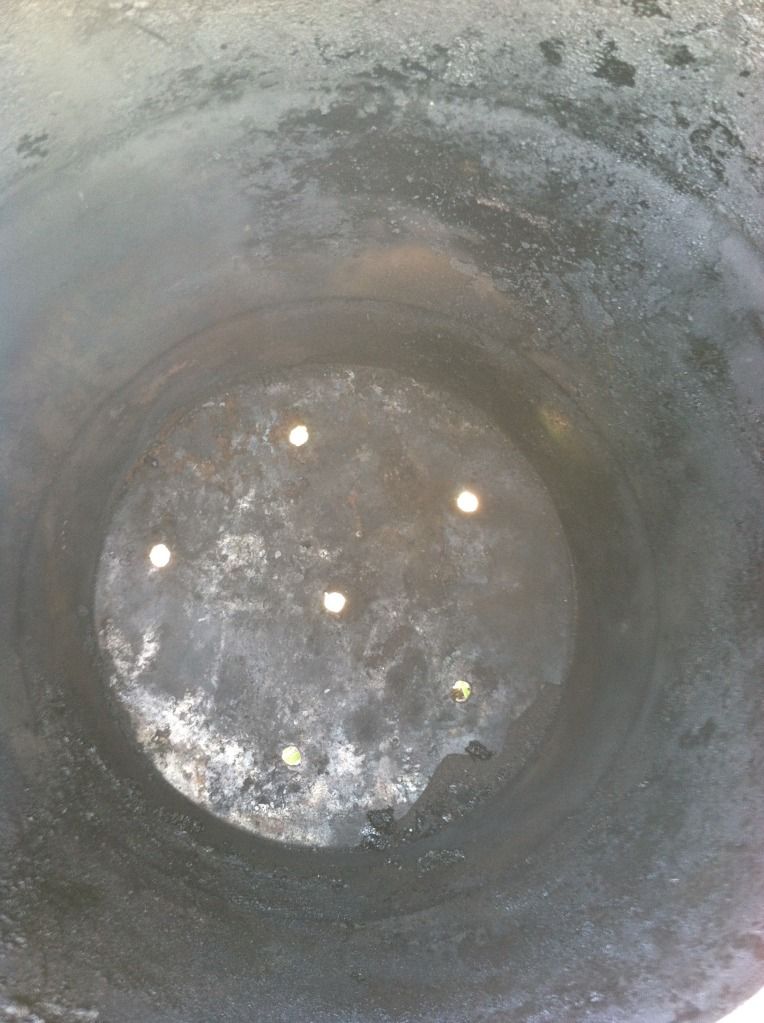
5. Drill/cut 5 holes about 3/8 or 1/2 inch in diameter in the bottom of each of the 30 G drums.
Charcoal Processing:
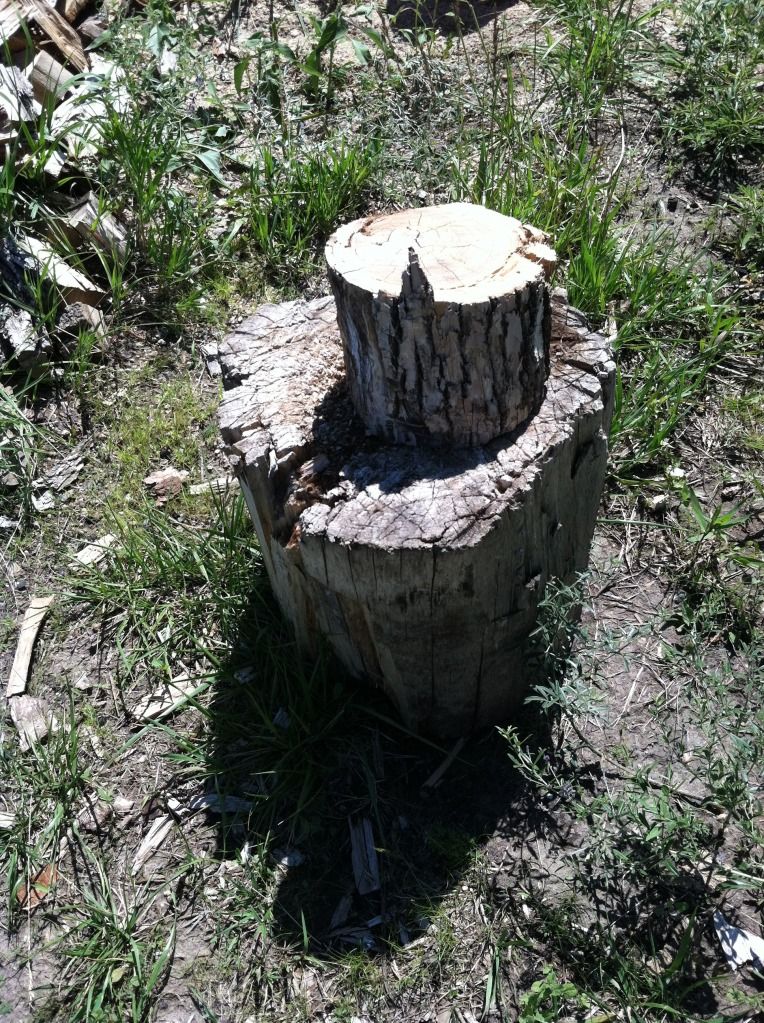
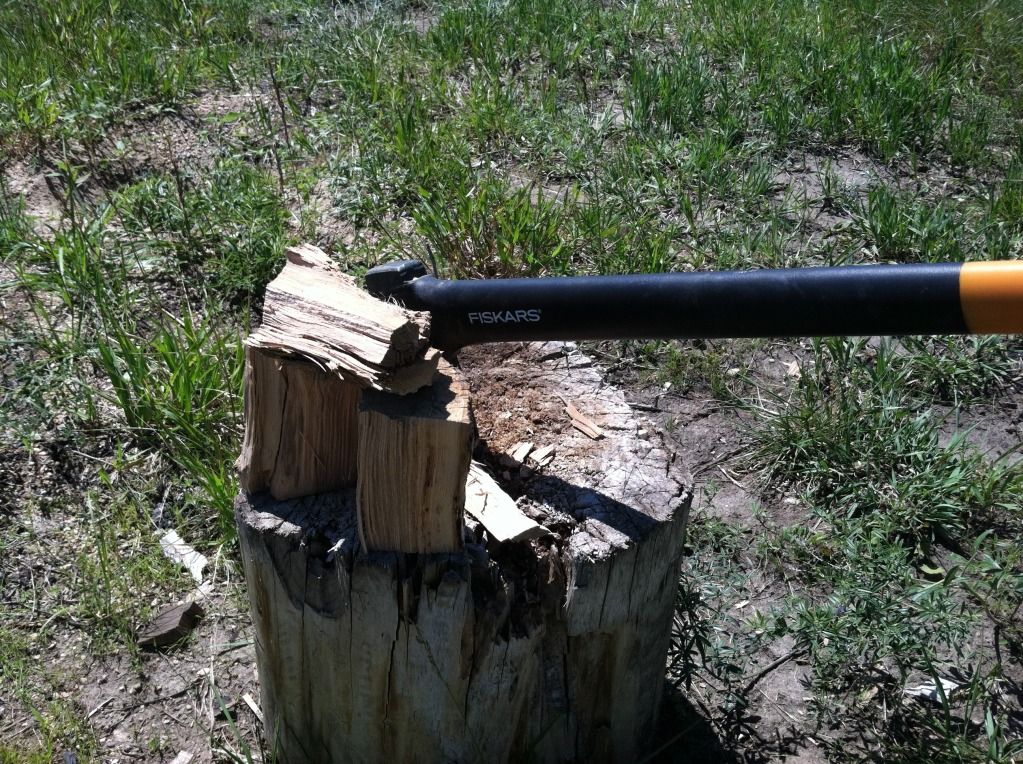
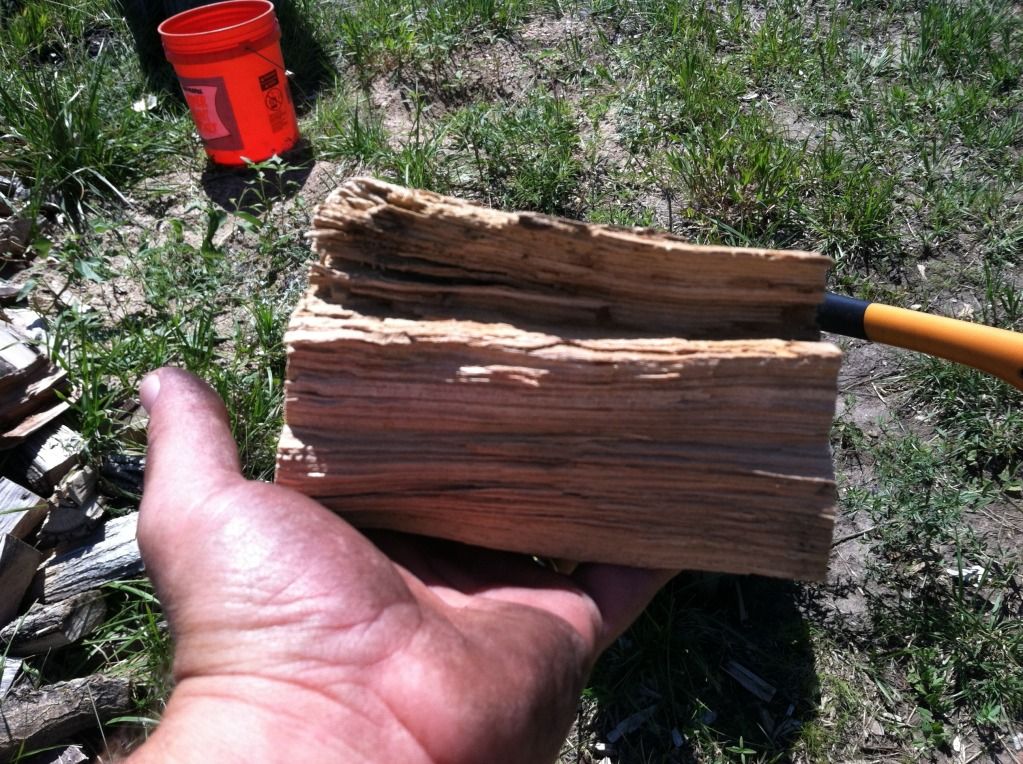
1. Ideal wood to serve as charcoal should be well seasoned, dense hardwood, cut into fist sized chucks around 4" thick. Length is not important, but we want uniform thickness so the charcoal burns at the same rate. Well seasoned wood will shorten the time required to process. I have used Elm, Cottonwood, and Ash as it's plentiful around the farm - and find while it's easier/faster to render into charcoal, I find it lacks the top end heat and burns far too fast for my liking. I now use only very dense hardwood with high BTUs. Some great options are Oak, Locust, Mulberry, Osage Orange, Walnut and Hickory.
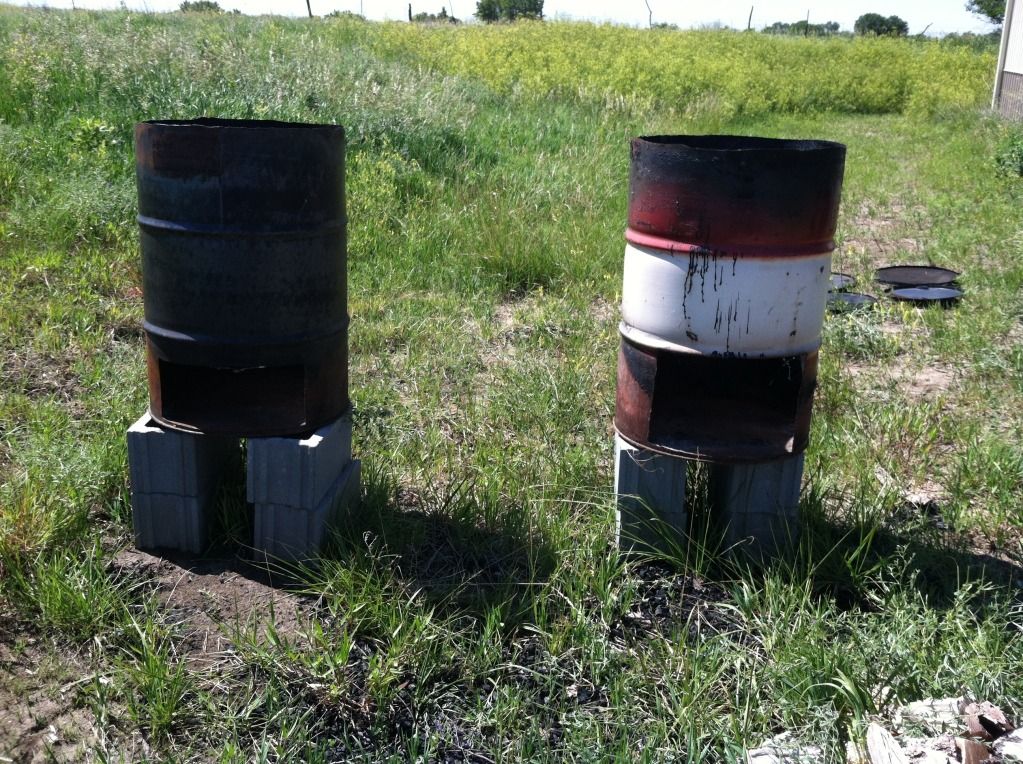
2. Set up kiln [55G drum] on ground or on pair of cinder blocks 1 or 2 high. The higher the kiln sits, the easier it is on the back and knees while feeding the fire in the kiln. If you are going 2 block high, please be certain the kiln in steady and on level ground. Note regarding wind direction: It's best to process lump charcoal with some wind as it helps create a hotter fire, resulting in shorter processing time, and minimizes smoke inhallation. Do not set up your burn downwind! Realize this seems obvious, yet I learned the hard way when wind picked up later in the day and I ended up directly downwin - I smelled like a grill pit for a week. Do not set up your burn sideways. Setting the fuel feeder hole sideways/angled into the breeze can be hazardous as hot embers can be brown out and create a grass fire which can quickly get out of control. This too I learned the hard way. I now ensure to place my fuel feeder hole directly into the breeze as it keeps the smoke at bay, it acts like a sail and catches lots of oxygen and results in a very hot burning fire, and I minimize any fire safety issues with escaping embers.
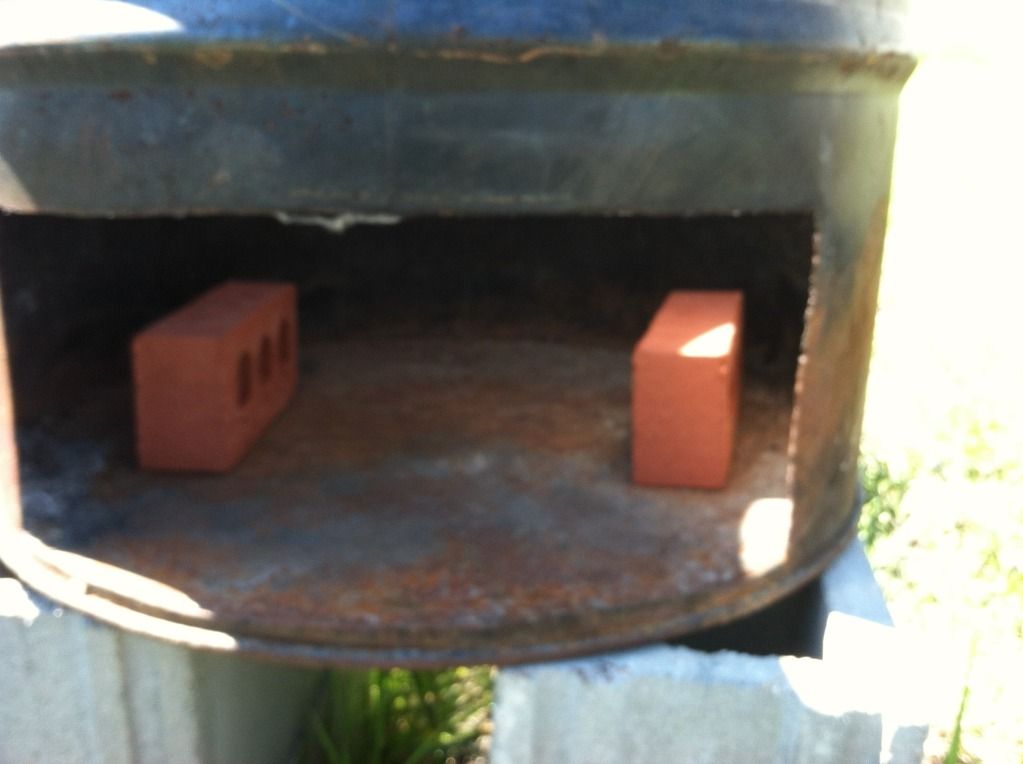
3. Set bricks inside the kiln on the bottom. Fire bricks will last for several burns, clay bricks last for a 1-2 burns.
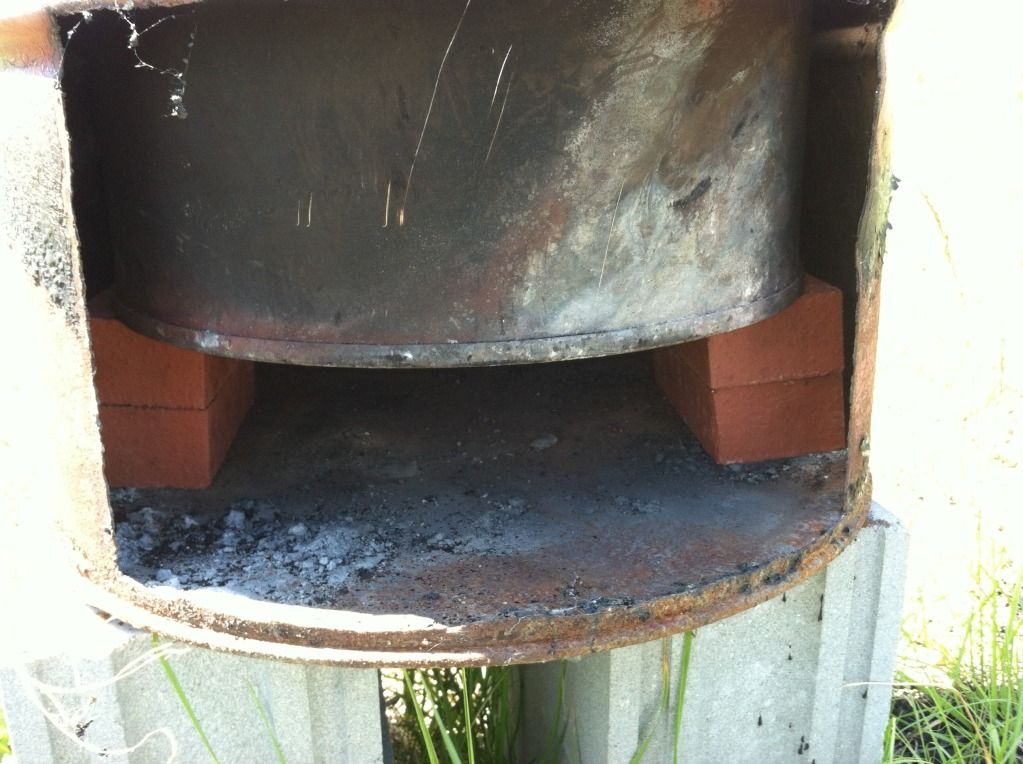
4. Set 30 G barrel inside the kiln on top of the bricks. You'll need to be able to put both lids back on the barrels, so don't leave the 30 G drum sitting too high. Experiment to determine the best brick configuration so both lids can still be placed on the barrels.
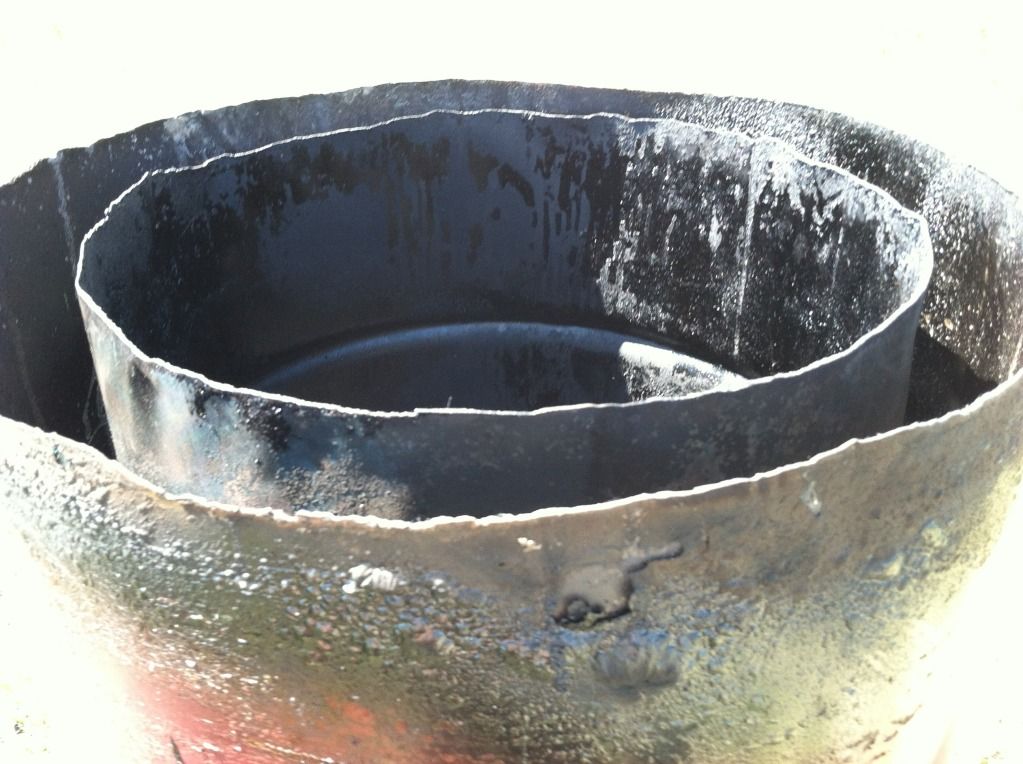
5. Fill the 30 G barrel with as much wood as possible so the lid still fits flush. Carefully wedging pieces in takes longer than simply dumping a load to the rim of the barrel, but will result in signficantly more charcoal. I recommnd to take the time, ensure the barrel has the most volume possible. Place lids on both the 30 G and 55 G drums. If yours are rough cut like mine there will be plenty of room for smoke, water vapor, and gasses to escape so no retort is necessary. If your lids are perfectly cut and could create an tight seal, offset the lids somewhat to create a chimney of sorts [or use a piece of rebar] to allow the outgassing from the kiln.
6. Build a fire between and even oustide the fire bricks beneath the 30 G drum. Start with paper and twigs and gradually layer larger sticks, limbs, etc. I use my piles of scrap after I limb trees felled for firewood scattered around the farm. These have typically been seasoning for at least a year - and using seasoned wood is important as the firebox can quickly get packed with coals which hampers continual feeding of the fire. The more seasoned the wood, the more completely it burns into ash, not coals which take up volume of your firebox.
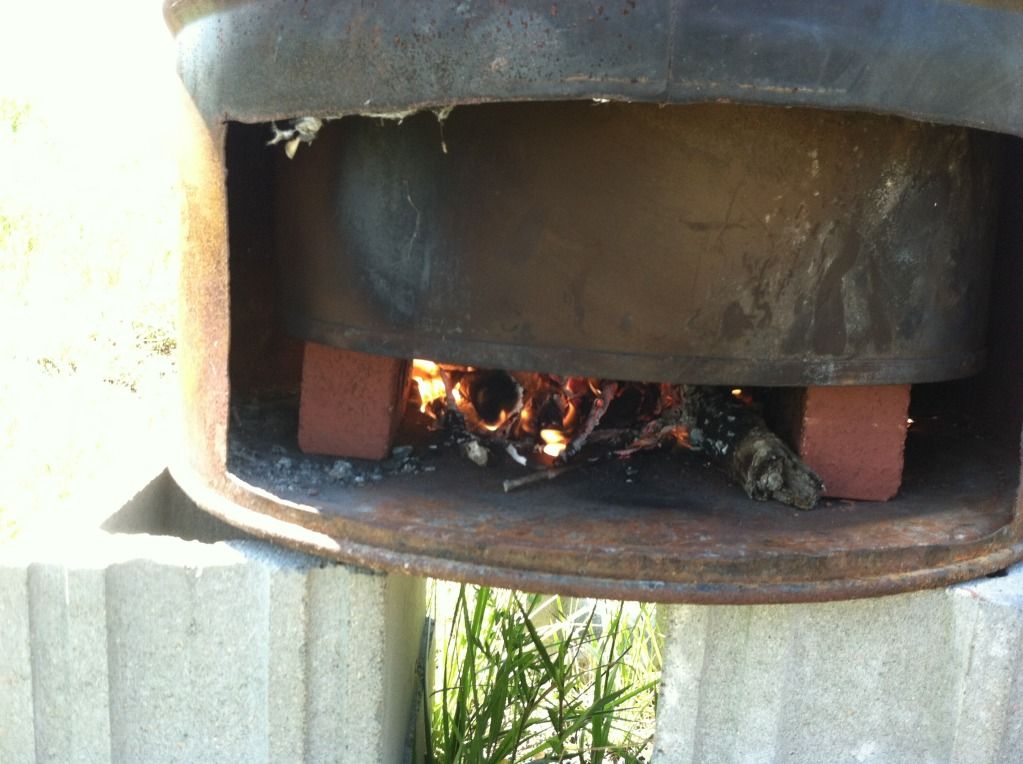
7. Continue feeding the fire, keeping the firebox as full as possible and fire as hot as possible. A breezy day helps here - provided you are upwind - as you should have minimal heat exposure, smoke inhallation, and the breeze should be feeding your fire plenty of oxygen. Might be a good time to crack a beverage or two and get as comfortable as possible, you'll be stoking/feeding for the next 3-5 hours.




![[Linked Image from i1261.photobucket.com]](http://i1261.photobucket.com/albums/ii582/teehjaeh57/I_subscribe_zps69249d43.gif)