While clearing the brush we had scraped the soil from the bottom and sides of the gully, exposing the geological structure of the site. It is as follows. A 1ft. Layer of topsoil and gravel. Under that is a 4ft. Layer of red clay. Under that is a 4ft. Layer of white clay. Under that is a layer of snow white sugar sand. I don�t know what�s under the sand. I dug a 8ft. deep hole in it before giving up.
After all the brush was cleared we shot grades with a laser to determine the future water level and depth. We then removed 3 foot of sand from the bottom and placed it on the backside of the dam base . Utilizing the depth benchmarks to gauge how much coverage we placed on top of the sandy bottom we eventually covered it with approximately 3 feet of clay. At the juncture where the sandy bottom met the sides we dug out the sand so as to create an overhang, under which, we refilled with clay in order to achieve a good seal.
During construction we incrementally knocked down the small pond�s dam, allowing the water to drain and dissipate. I had originally planned on moving the dirt from the small dam the length of the pond, for use in the construction of the large dam. Instead, in the interest of saving time I decided to remove each end of the small dam and stack the material behind it�s center, to create an island. A decision I would later regret, as the island turned out to be too large in proportion to the surface water surrounding it. It�s funny how large an empty pond appears to be, until it actually fills up.
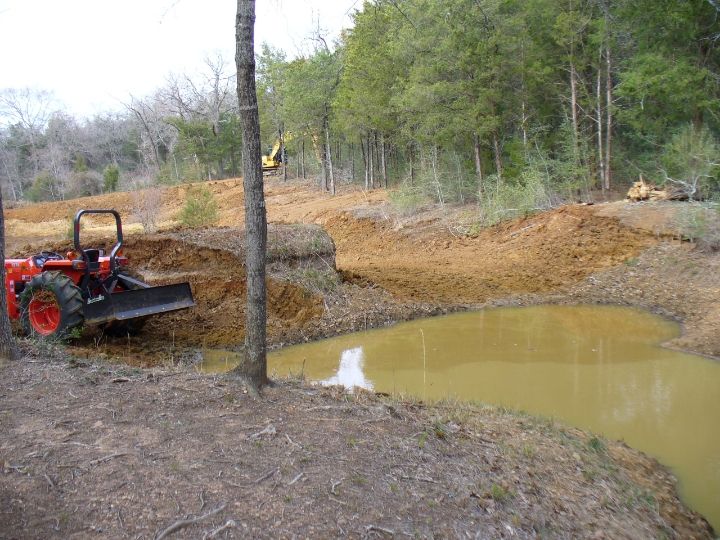
(Picture above) Remnants of the little pond. Remaining portion of the dam to the right of the tractor became an island.
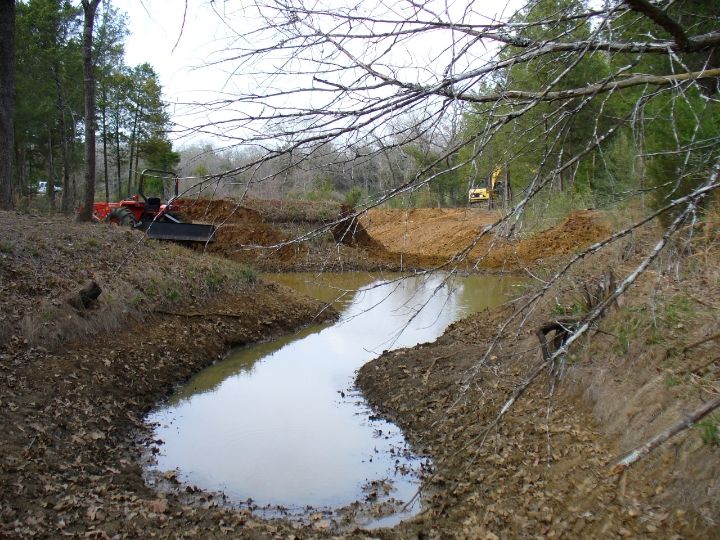
(Picture above) Upper end of the small pond. This is where the gully begins it�s downhill course across the property.
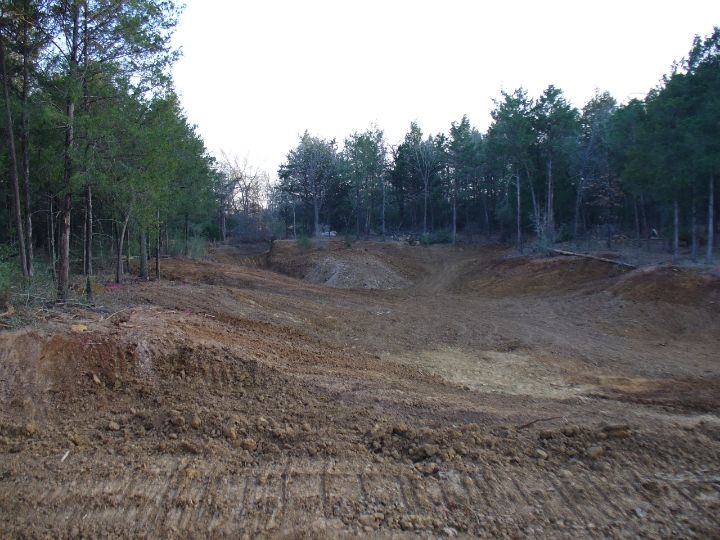
(Picture above) View from the dam. We�re almost finished.