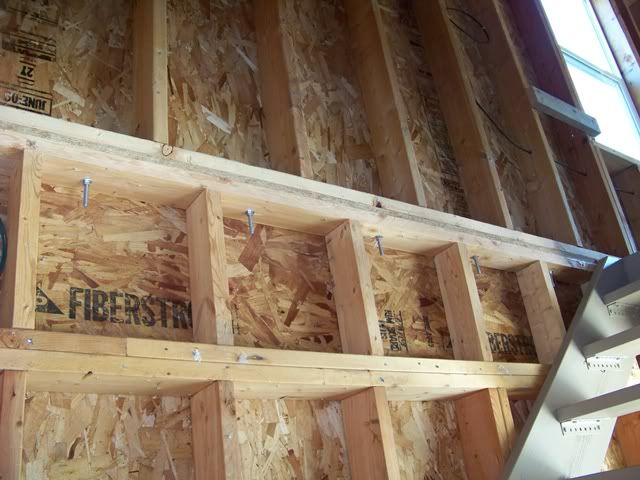
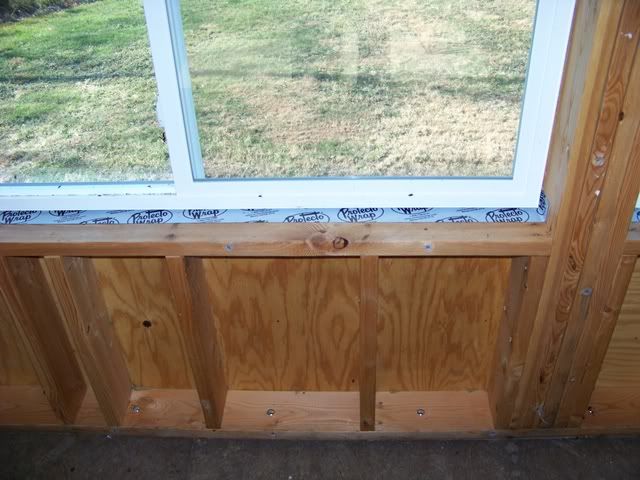
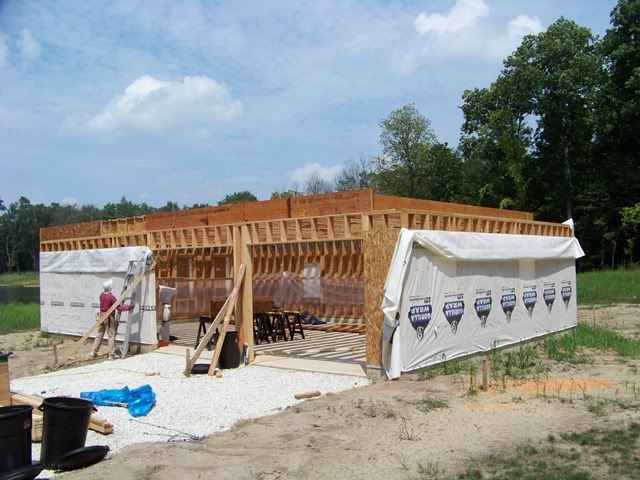
We continue to diddle with odds and ends, all with the goal of being completely buttoned up for the winter and prepared to take the next big step: partition walls and rough electric. I'm really itchin' to start laying out the walls, but I gotta tend to the details. One of the notable engineering issues that we have paid attention to is creating a structural bond that starts at the foundation and runs all the way to the roof. It's one of those things that you hope you will never have to see it get tested, but if it does and it's done correctly, the payback is big. I'm talking about uplift...ie; wind and tornadoes. This weekend, we spent some more time locking the second floor to the first floor. Last weekend, we bolted the gable walls together. We are using 3/8" carriage bolts in all instances.
- the gable wall on the back side
the gable wall on the front, below the bank of picture windows (looking down to the base plate at the 2nd floor)
-
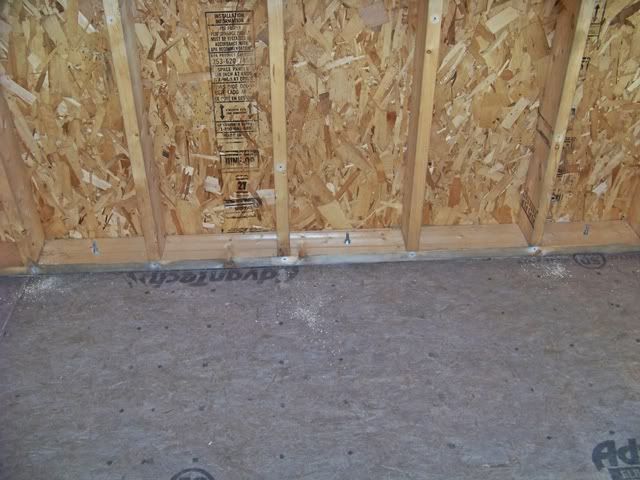
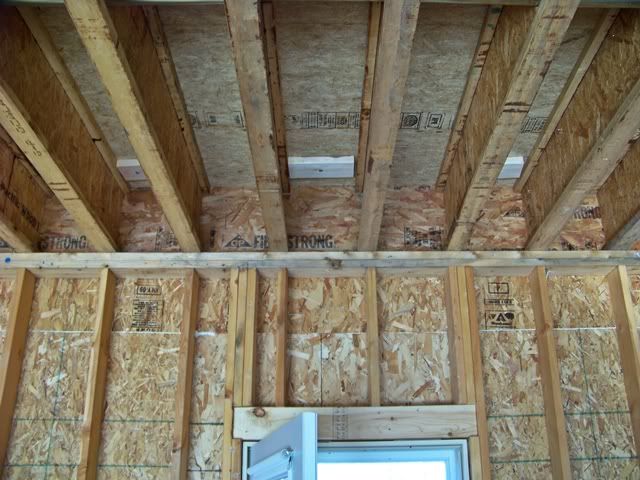
The real players for holding the lid down are the other 2 main wall sections. Since the second story walls are mostly the shed dormer, it is a bit trickier. The shed dormer walls are not directly above the 1st floor walls. They are set back by 6" to create the gambrel roof. They bear directly down to the engineered I-joists that support the entire 2nd floor (with the 2nd floor decking sandwiched in between). As a result, the walls on the 2nd floor can tie into either the floor decking below them, or the I-joist flanges. Since the floor decking is glued and ring-shank nailed to the I-joists, I elected to use the decking as my bond below the shed dormer walls. We added 2 x 6 lumber sections as big, wooden washers beneath the decking, gluing them to the underside of the decking and cranking down the carriage bolts to squeeze it all together.
this is the base plate of the shed dormer wall; we installed bolts at every other bay
this is taken from the first floor, looking up to the underside of the decking. The blocks are directly below the shed dormer wall above.
OK, so how is the first floor tied up to the second floor framing? If you look at the pic above, you can see a horizontal white line about a foot above the door framing. This is the polyurethane caulk that seals the seam between the bottom sheathing and the bonding sheathing set above it. The bottom sheathing is the 8 foot tall OSB that came up short on the 9 foot walls. (see file photo below) Another row of OSB that is tall enough to reach all the way to the top of the 2nd floor framing is glued and nailed, the bottom 1/2 attached to the 1st floor walls and the top 1/2 attached to the second floor framing. The white caulk in between serves 2 purposes; seals out air transmission and adds an amount of structural bond to aid in wrack prevention. So, in summary, our mission to tie the top 1/2 of the building to the bottom 1/2 is pretty well covered and completed. I am still considering adding another facet, but secretly hope I lose interest in overkill and move on to the wall framing.