...Sunil identifies temptation:
Brettski, I see some water there!
Has the urge to put in a few dozen fatheads overcome you yet???!!!!!!!
...No, not yet. I have my hands full with these other priority projects....but....a couple more good rains, a few more weeks of construction progress, ....?
-
-
We elected to cut the verts on the rebar cages on-site since I was unsure as to the actual depths of each...no biggie. I went to Menards and purchased their largest bolt cutter; a unit 30" in length. I went home and did a test-run on a pc of rebar on the garage floor. Now remember, this is Grade 60 rebar; the good stuff. It also makes it harder to cut. After leaning, pumping, and re-adjusting the cut, the rebar finally yields with a high-pitched "ping" and shoots across the concrete floor like a bottle rocket. This ain't gonna git it in the dirt at the jobsite. Time for some re-engineering.
I took a piece of 2 x 8 x 16" treated pine and milled a slot for the handle grip (radial arm saw). Then I cut slots thru it for 2 larger hose clamps and cranked the whole thing together to create a stabile base. Then I added a piece of chain-link fence post pipe that I had in stock.
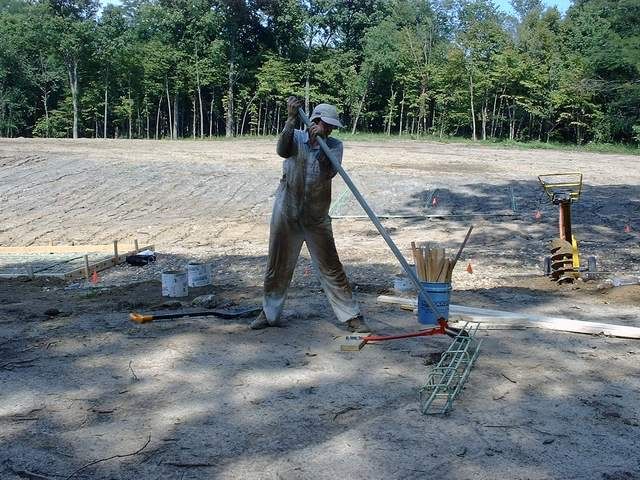
Huge improvement. Still a bear to crank it down and cut, but manageable. Still got the high velocity "ping"

.
-
-
The rebar mat was laid out on the ground in their respective positions. I laid the long bars first, then tied the short cross pieces one at a time. I could only do one at a time because they would roll downhill on the long bars like they were rails. Next pour, we go the opposite way :rolleyes: .
I ain't no iron-worker, nor do I play one on TV, but I did stay at a Holiday Inn Express last night! We used standard issue 16 ga. annealed tie wire. I tied every junction at the perimeter to stabilize the mass. Then we hop-scotched the entire mat, adding a tie so that no tie was any further than 36" from another. Why not all of 'em?....you try it.
We then elevated the mat by placing a rebar chair at about 48" o.c. They are also standard issue 3" bar chairs; a plastic cone (like a volcano) with the sides cut out for concrete permeation and round notches at the top rim to accept the rebar.

We had areas near the edges that went pretty deep. I decided it was easier to fill the gap with concrete over terra-firma as opposed to filling the holes with loose soil and compacting. In these areas, we boosted the chairs with larger rocks. At the last minute, as we rested for a couple of minutes and waited for the concrete truck, I decided that maybe I should put a tie wire thru each of the chairs and tie it to the mat. Whew...good call, Brettski. When the force of the pour hits 'em, another 11th hour decision yields good results.
Oh yeah, the 3/4" x 18" smooth dowels....I cut 2" dia holes at 12" on center in the 2 x 6" form, then screwed on the backer blocks you see with 7/8" dia holes. This centralizes the bars within the 2" holes behind them.
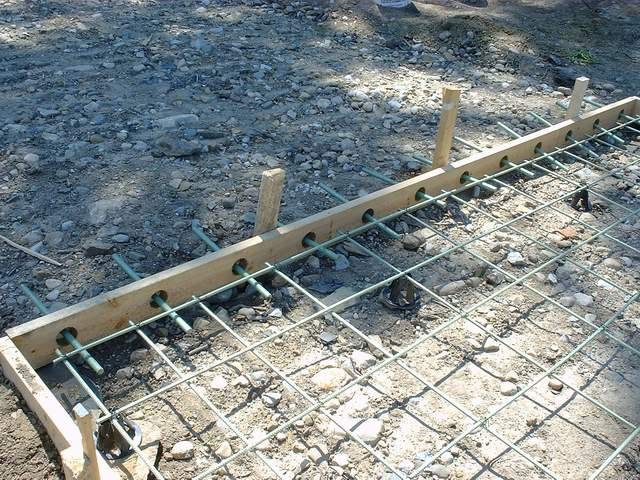
When we go to strip the forms, remove the screw-on blocks and hopefully pop off the 2 x 6 form. The 2" holes in the form should allow room to slip over the dowels, since they are not absolutely square and straight.
-
-
Then, the pour. Boy am I glad that I bought (and brought) those waders! The entire slab took about 9 yards of concrete.
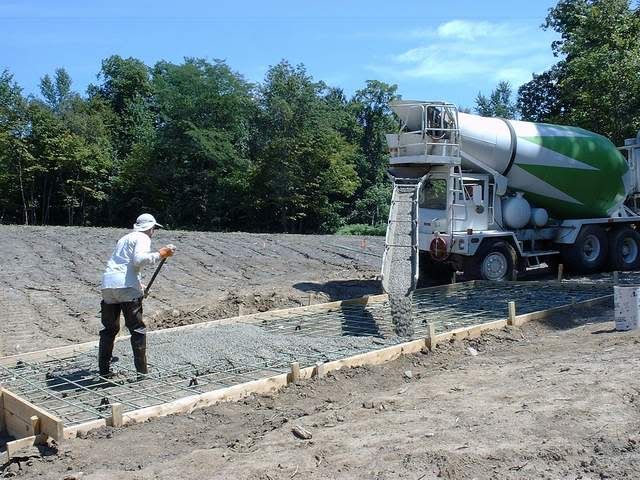
-
-
Donna-ski and I struck it off with a 2 x 6 x 14', using the standard sawing motion. PLEASE NOTE: Donna-ski is one tough dame. I laugh to think that she could kick most of my buddie's butts. She takes pain pills for some bad knees and still scares me.
Anyway, the beauty of finishing a boat launch is that the goal is a non-skid, non-slip surface. That, and most of it is below the water, puts the finishing portion well within our DIY grasp. After we strike it off, that's it...it ain't real pretty, but looks OK for novices. Then I put the finishing touch to it

I took a garden rake and worked from each edge, dropping it in the center and drawing it back out, scraping up the top aggregate and creating the ultimate non-skid surface:
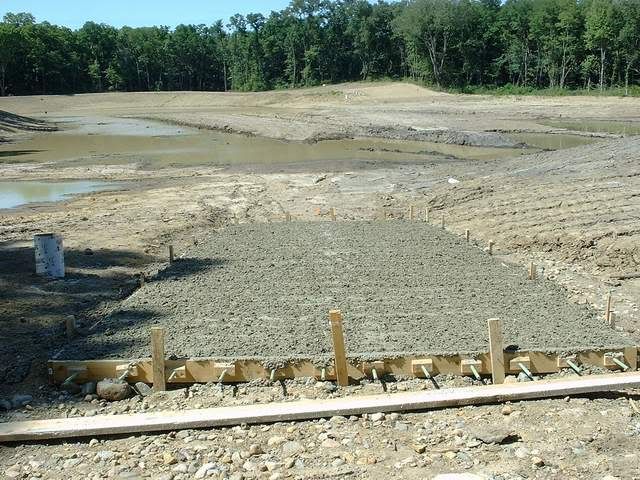
I got your broom finish right here!


