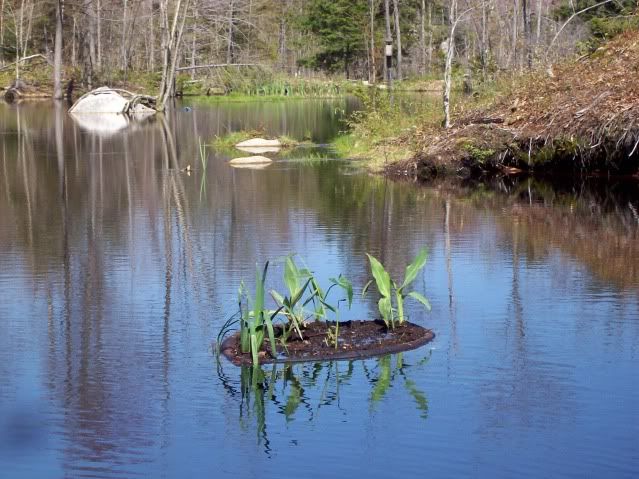
Well here's the explanation and pictures of my low cost floating island. Believe it or not it's still floating after 2 windy and stormy days in less than a week.
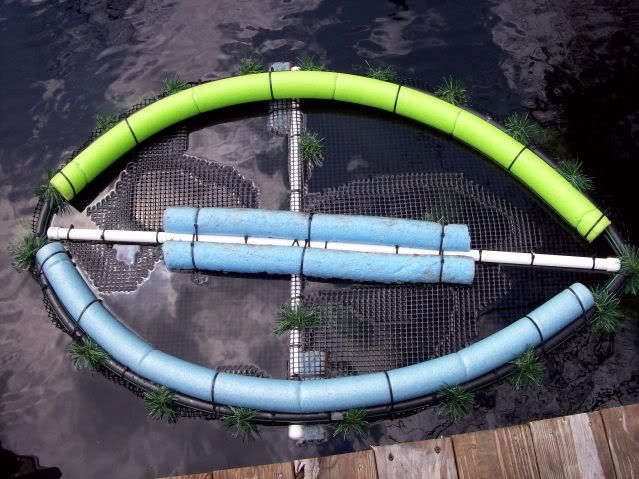
This first photo shows the garland attached beneath the island.
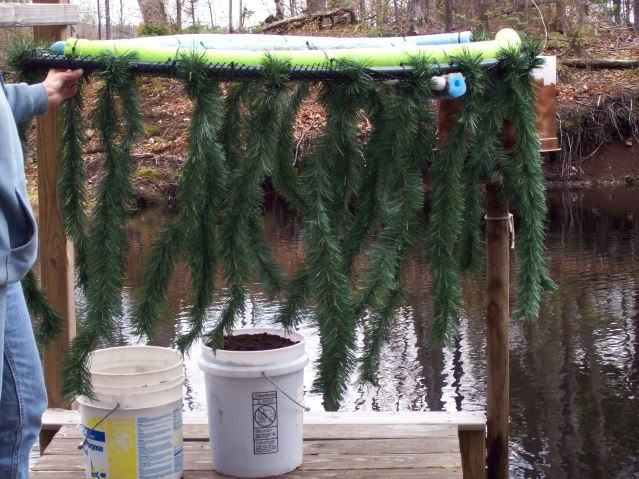
Here it is finally wet, as you can see I added some foam noodles to the center support and also 2 small pieces to the cross support. In the finished photo's you can see that I added foam at each end of the island to completely enclose it.
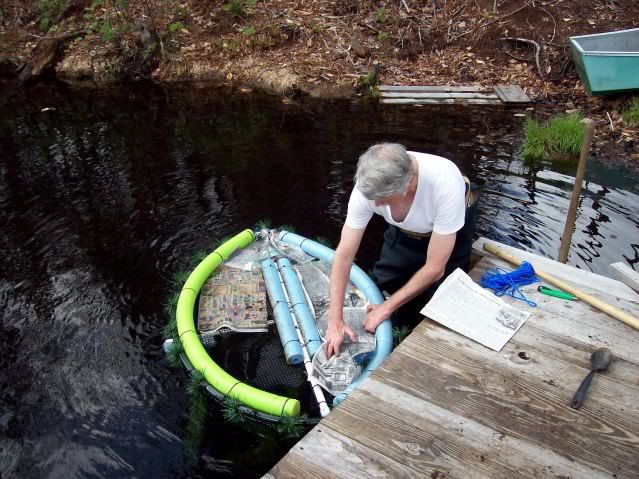
I'm putting newspaper down to help reduce initial loss of peatmoss and dirt untill the plant roots take hold.
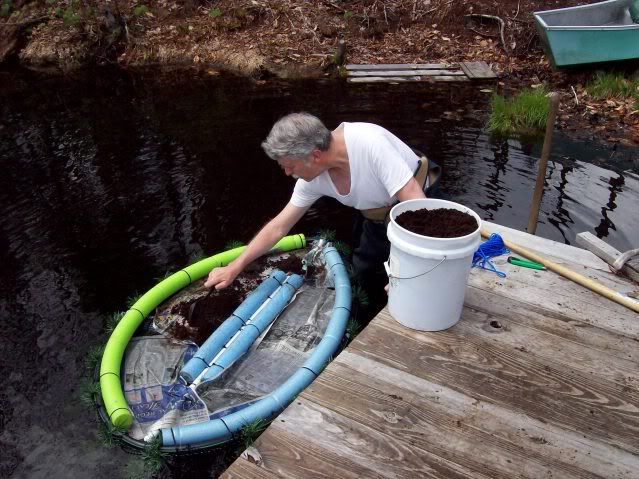
First I put 40lbs. of peatmoss on it then about 30 lbs. of dirt, later after putting the plants on I put another 20 to 30lbs. of dirt on, for a total of about 100lbs. peat & dirt.
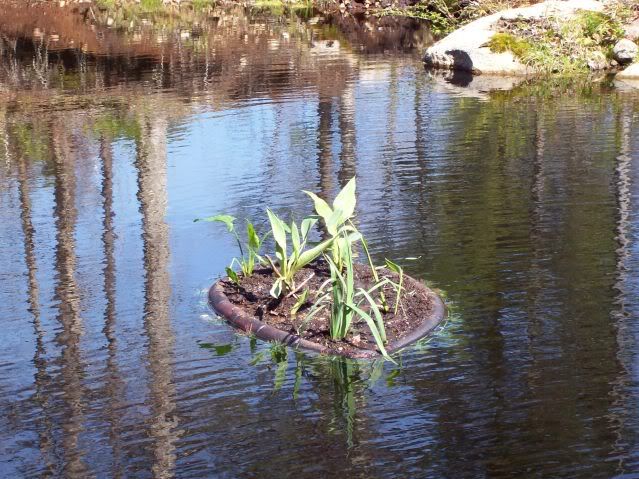
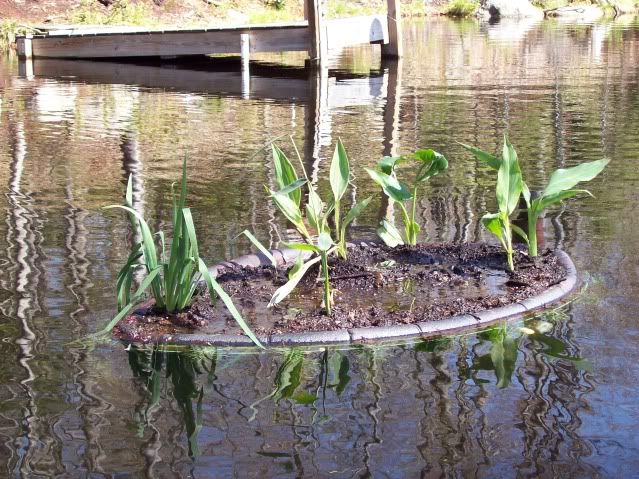
Here's some photo's of it with the 5 water plants I got from Lowes, there are 2 asst. Canna, 1 hardy water Canna, 1 Calla Lily, and 1 Iris. I put grass seed on it but I'm not sure it will grow so I'll get some grass off my natural islands and try that.
One other suggestion, if your island is subject to high wind & waves you might want to add another ring of foam to the bottom to help it float higher.
I built the island with flexible pipe and noodles to see how it works cause I would like to build a larger one with a more irregular natural shape.
I'll update this as the plants and grass grow.
Hope this info helps.
P.S. Paint the noodles before putting in the water.